In this post, I will demonstrate how to set up Angular and create a simple web application.
The very first step you need to do is make sure you have node.js installed. To check to see if you have it, open up command prompt and type npm -v

If its not installed, just type in npm install -g (this will make node.js install globally on your machine, if not you would have to install node.js on every new application you create)
If you dont already, download Visual Studio Code (this is just my preferred IDE and its pretty easy to use Angular with) –> https://code.visualstudio.com/download
Next is the most important step. We will be installing the Angular CLI (Command Line Interface). The Angular CLI makes creating applications from the command line much easier. Its a command line tool that provides us the boilerplate templates code. Basically, it saves us a lot of time by providing code thats already packed in. On the command line, type npm install -g @angular/cli

Once the CLI has installed, we can go ahead and create our first project! On command line, type ng new first-project. This will create a project “First Project”. Once created, navigate into the directory of that project. Once in, type ng-serve, this will make the serve for the website go online and compile successfully. This is what your file should look like (in VS Code)
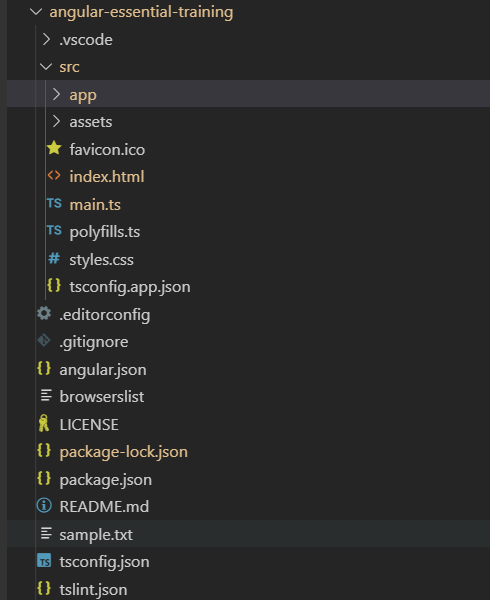
The last thing to do is test out the page. On your web browser, type in localhost:4200, an Angular test page should pop up, meaning you have successfully created your own SPA. (This page is auto generated by Angular, and can be found in src –> app –> app.component.html) Feel free to play around with the html files for the Angular test page, it will update live!

In the next post, I will break down the structure of these files and explain what the src –> app file contains.
